Create Your Own Characters
In this tutorial, we will create our own character and do a video call with it in a React app.
We only need one image of the character, and we can start calling the character immediately, no training required.
Helpful links:
1. Create a developer account
Section titled “1. Create a developer account”Create an account at dev.runwayml.com.

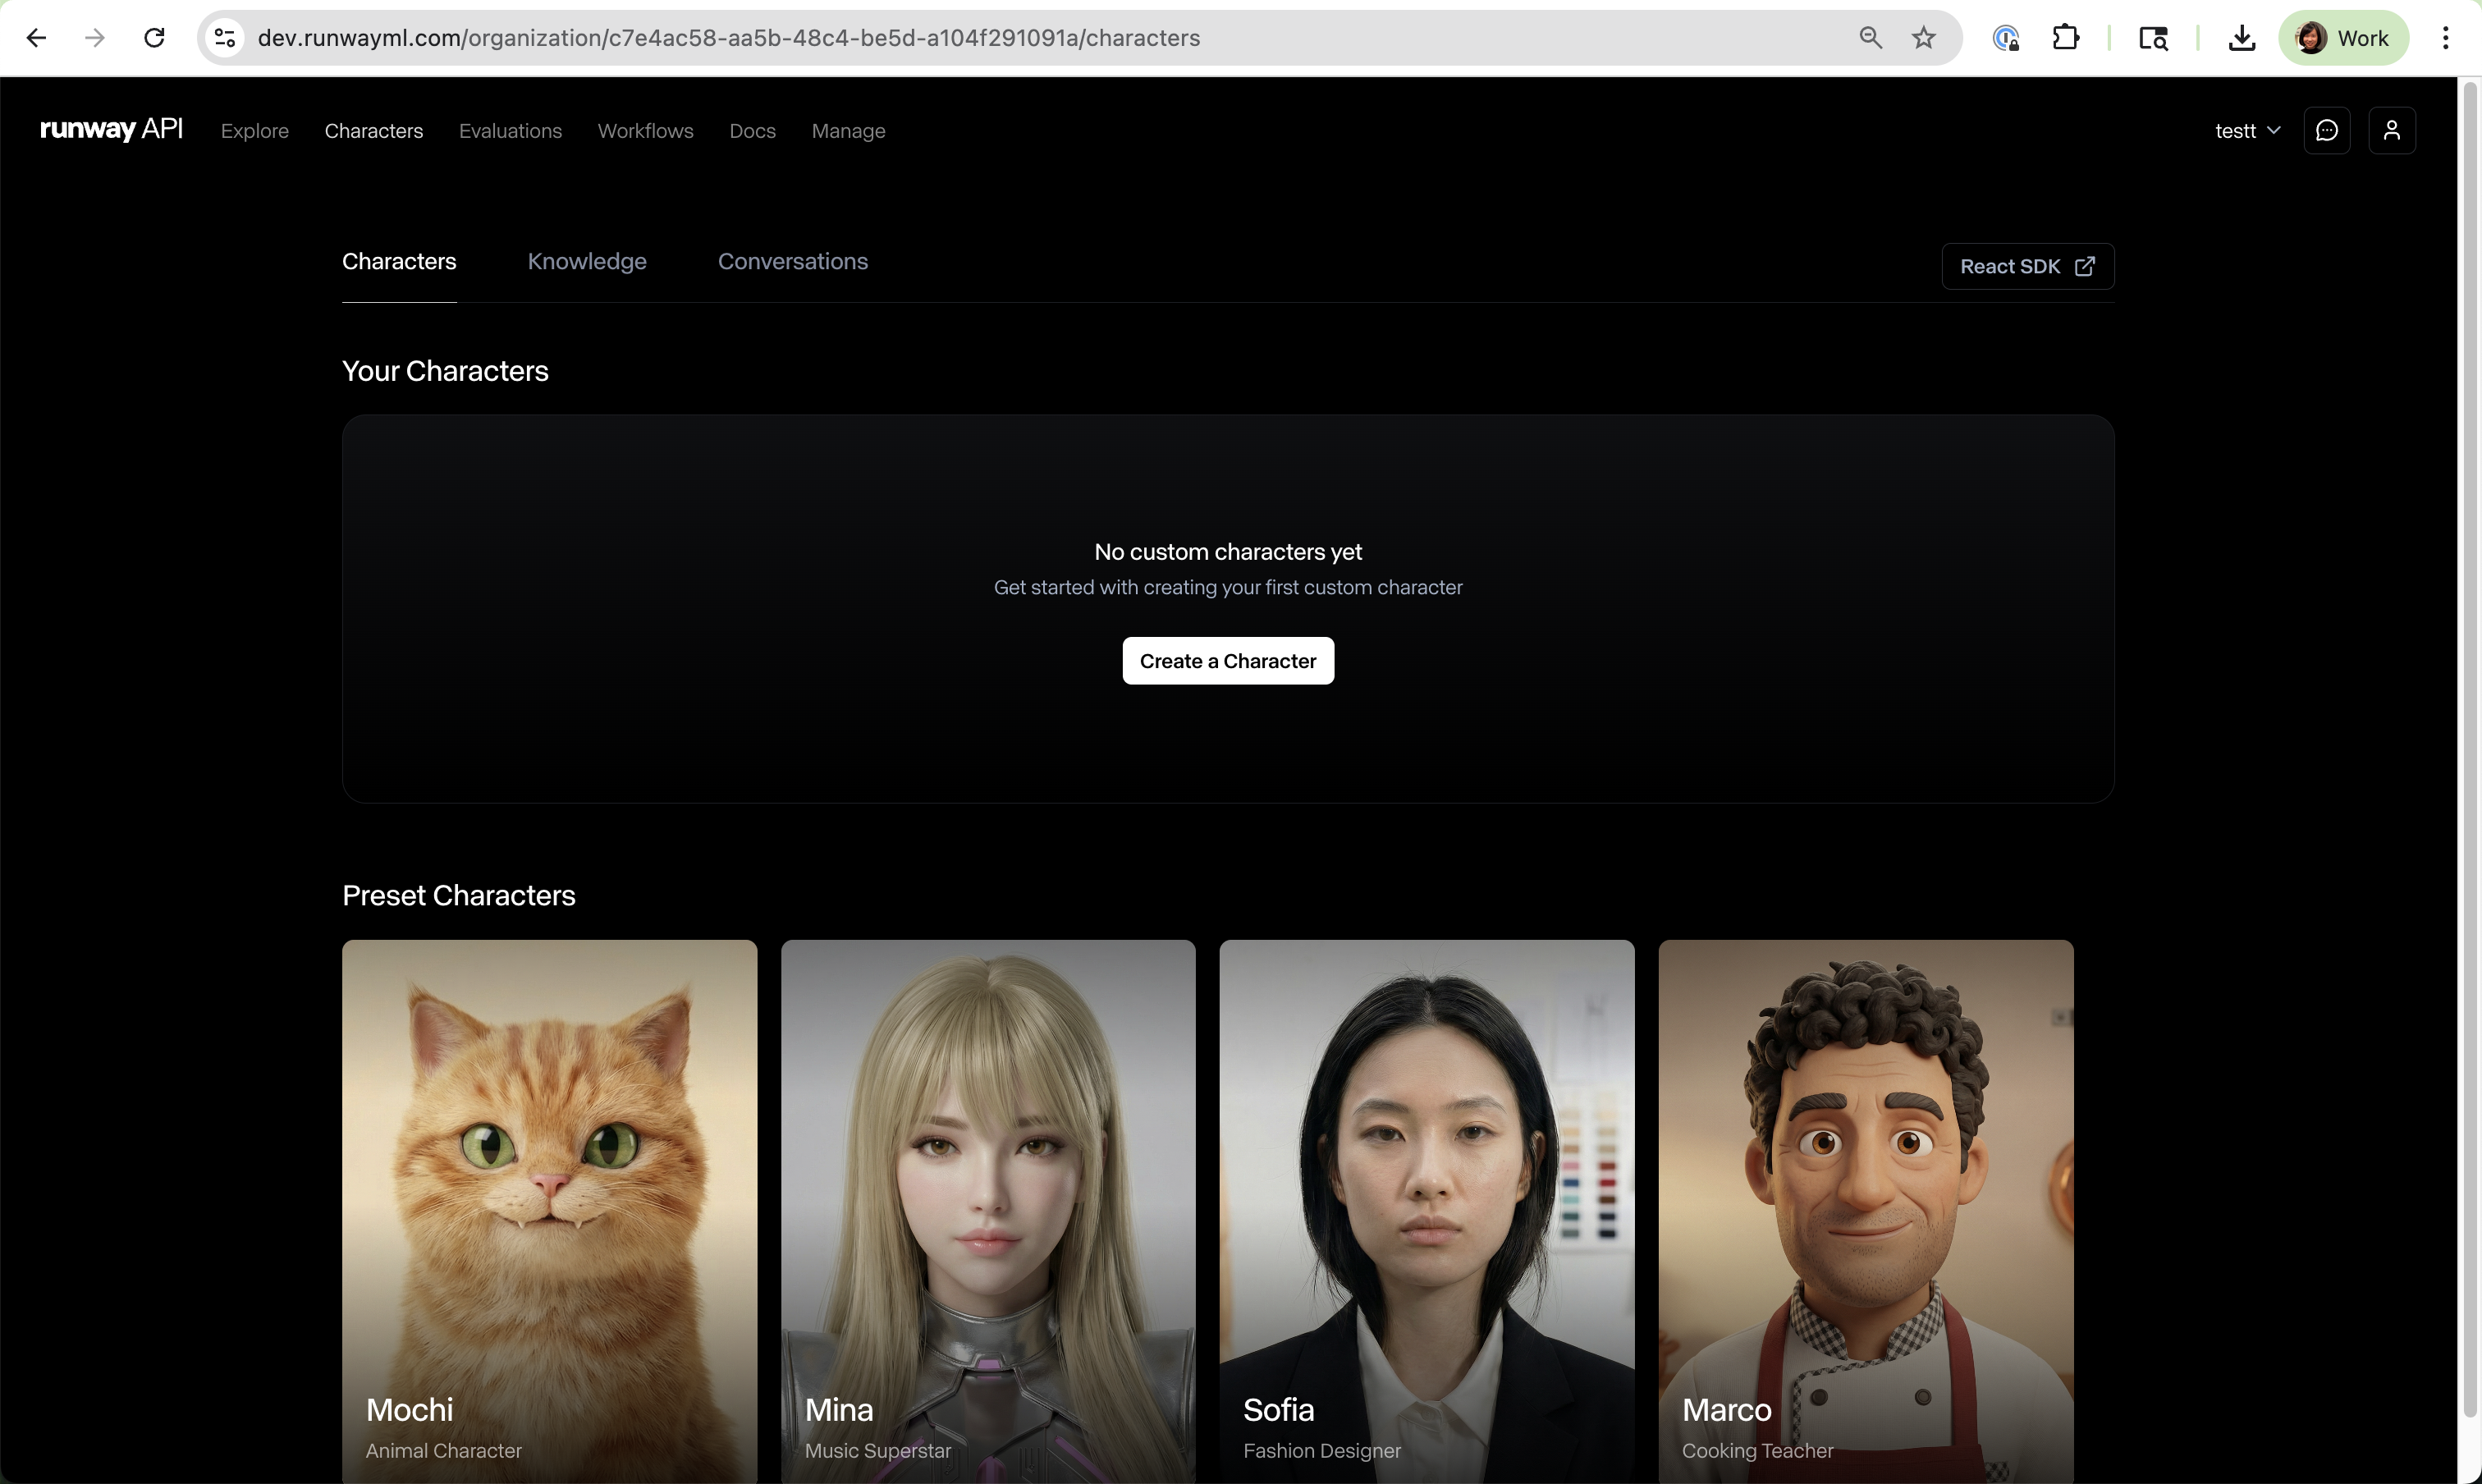
Once you log in, you will see an “Characters” tab at the top bar.
2. Create your own character
Section titled “2. Create your own character”Click on the “Create a Character” button.
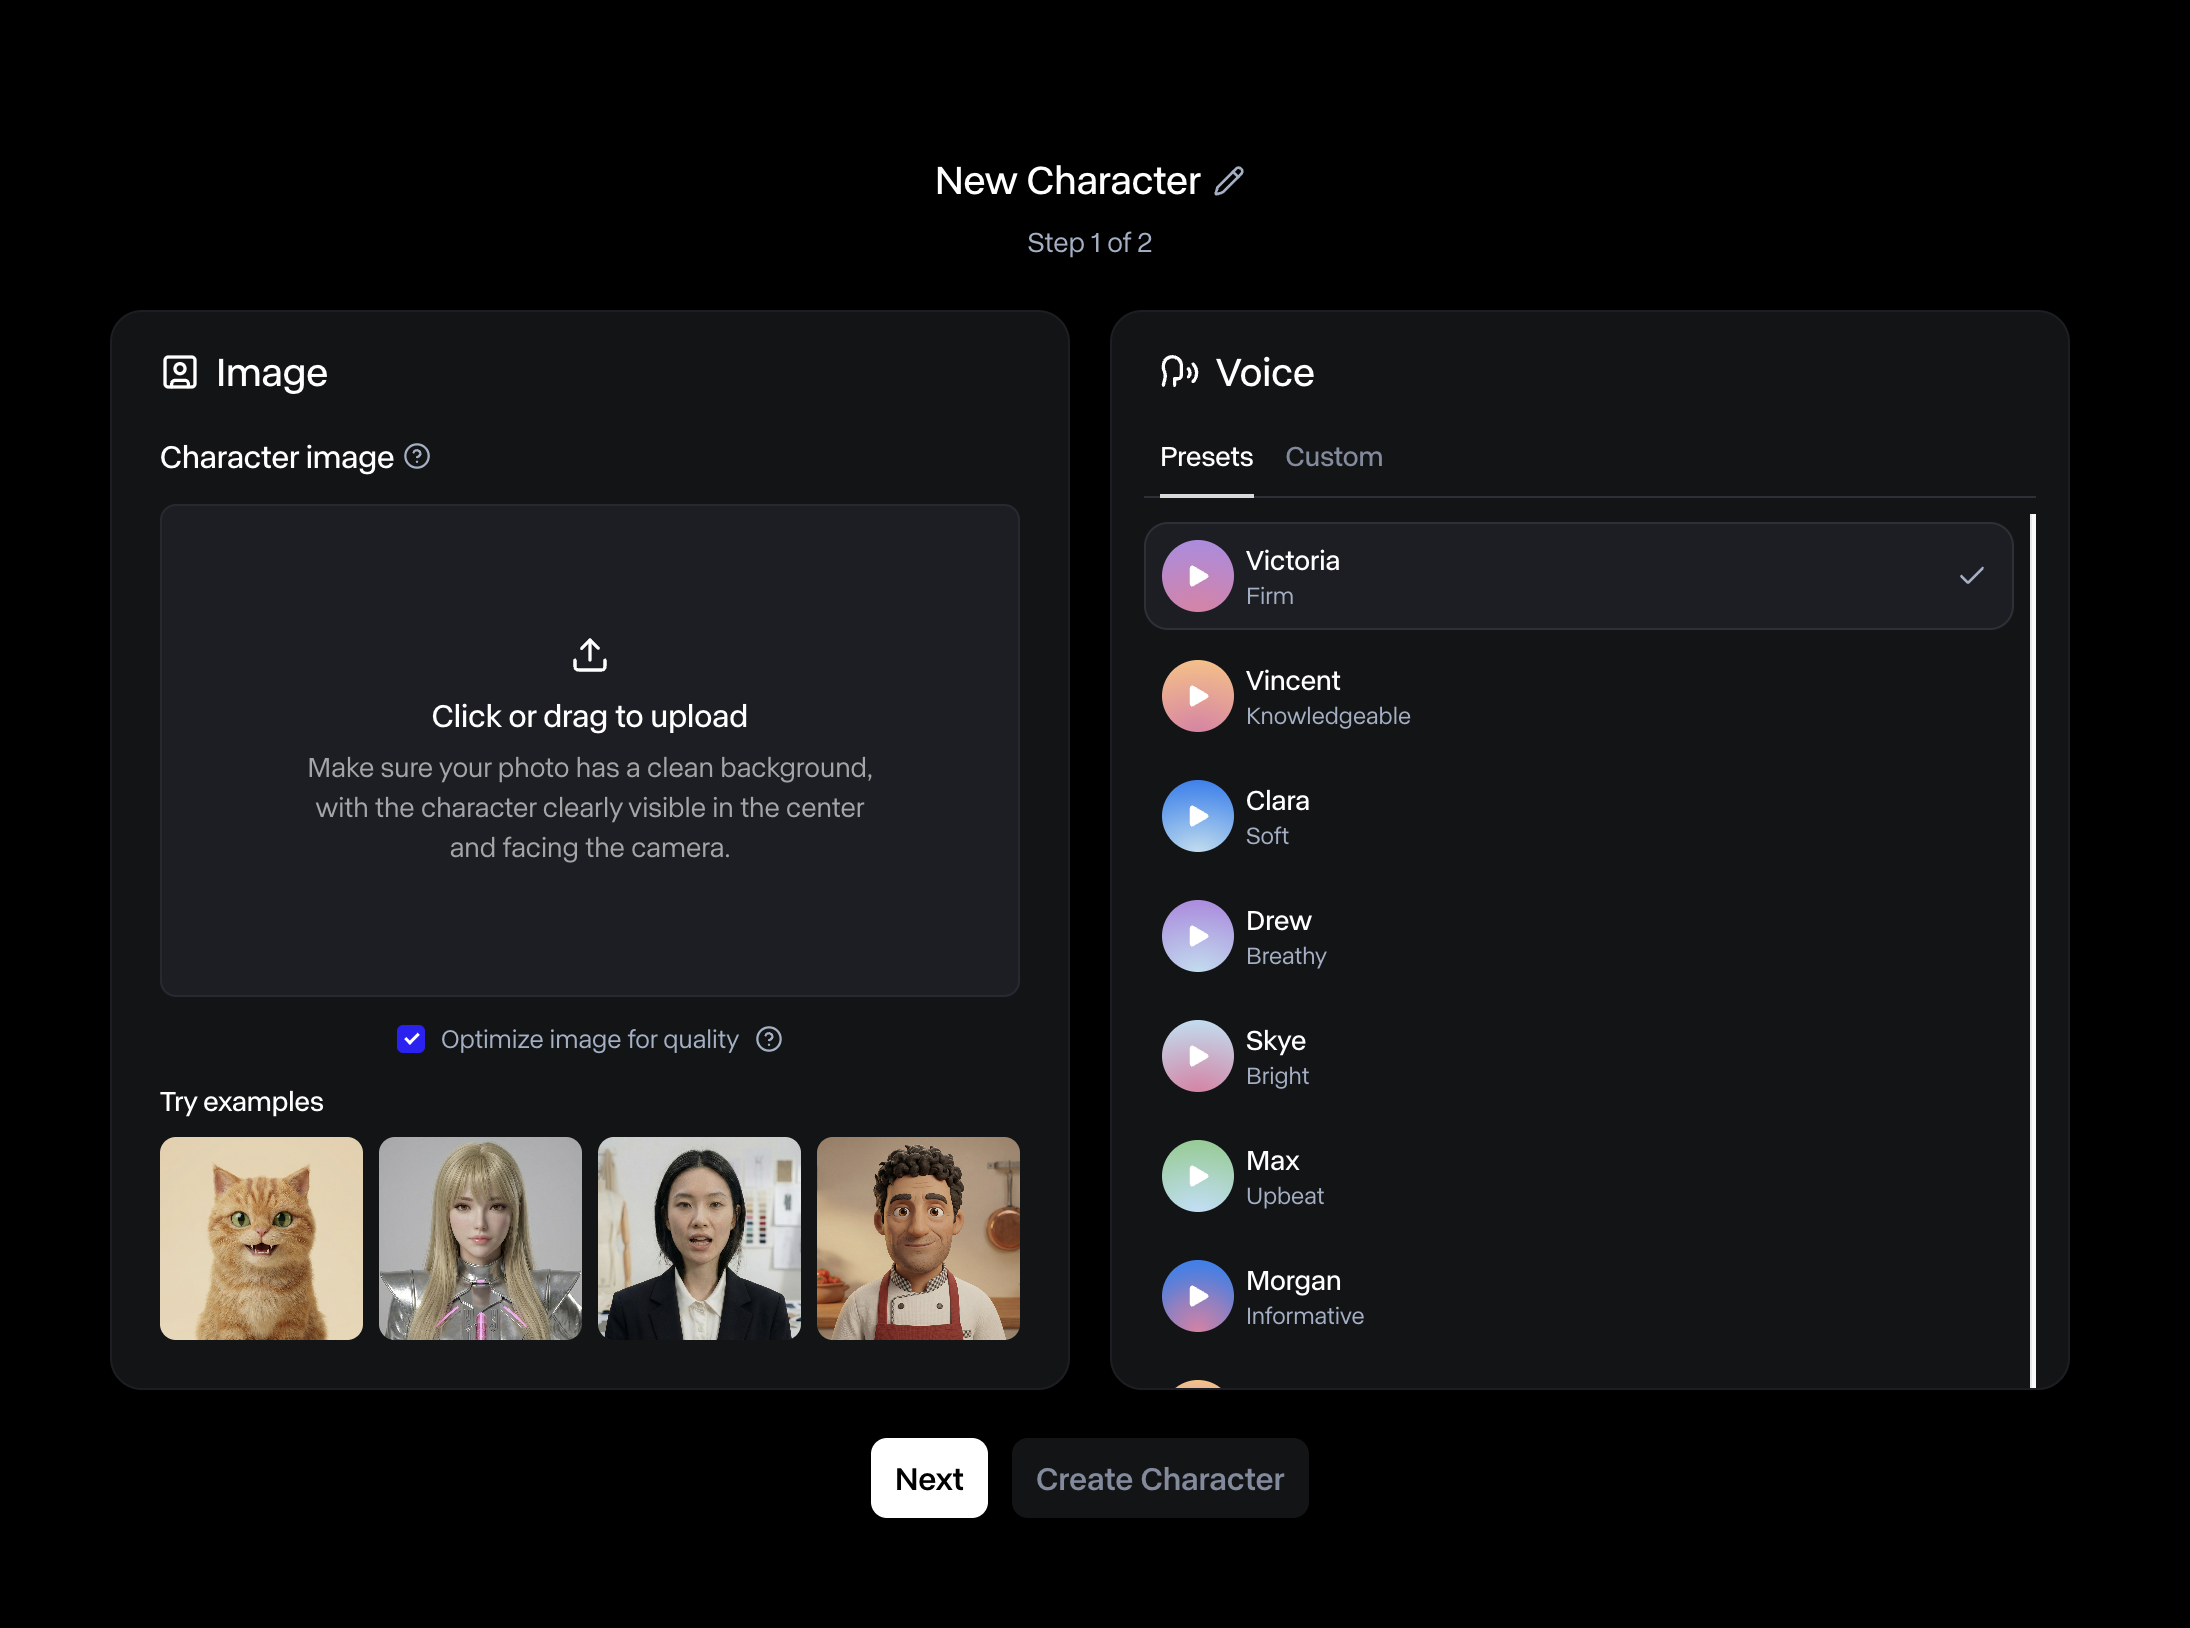
2-1. Upload a character image
Section titled “2-1. Upload a character image”Here are some tips for choosing a good character image:
- Use high-quality, front-facing photos with good lighting
- Ensure the face is clearly visible and centered
- Avoid images with multiple people or obstructions
- Recommended: 16:9 aspect ratio
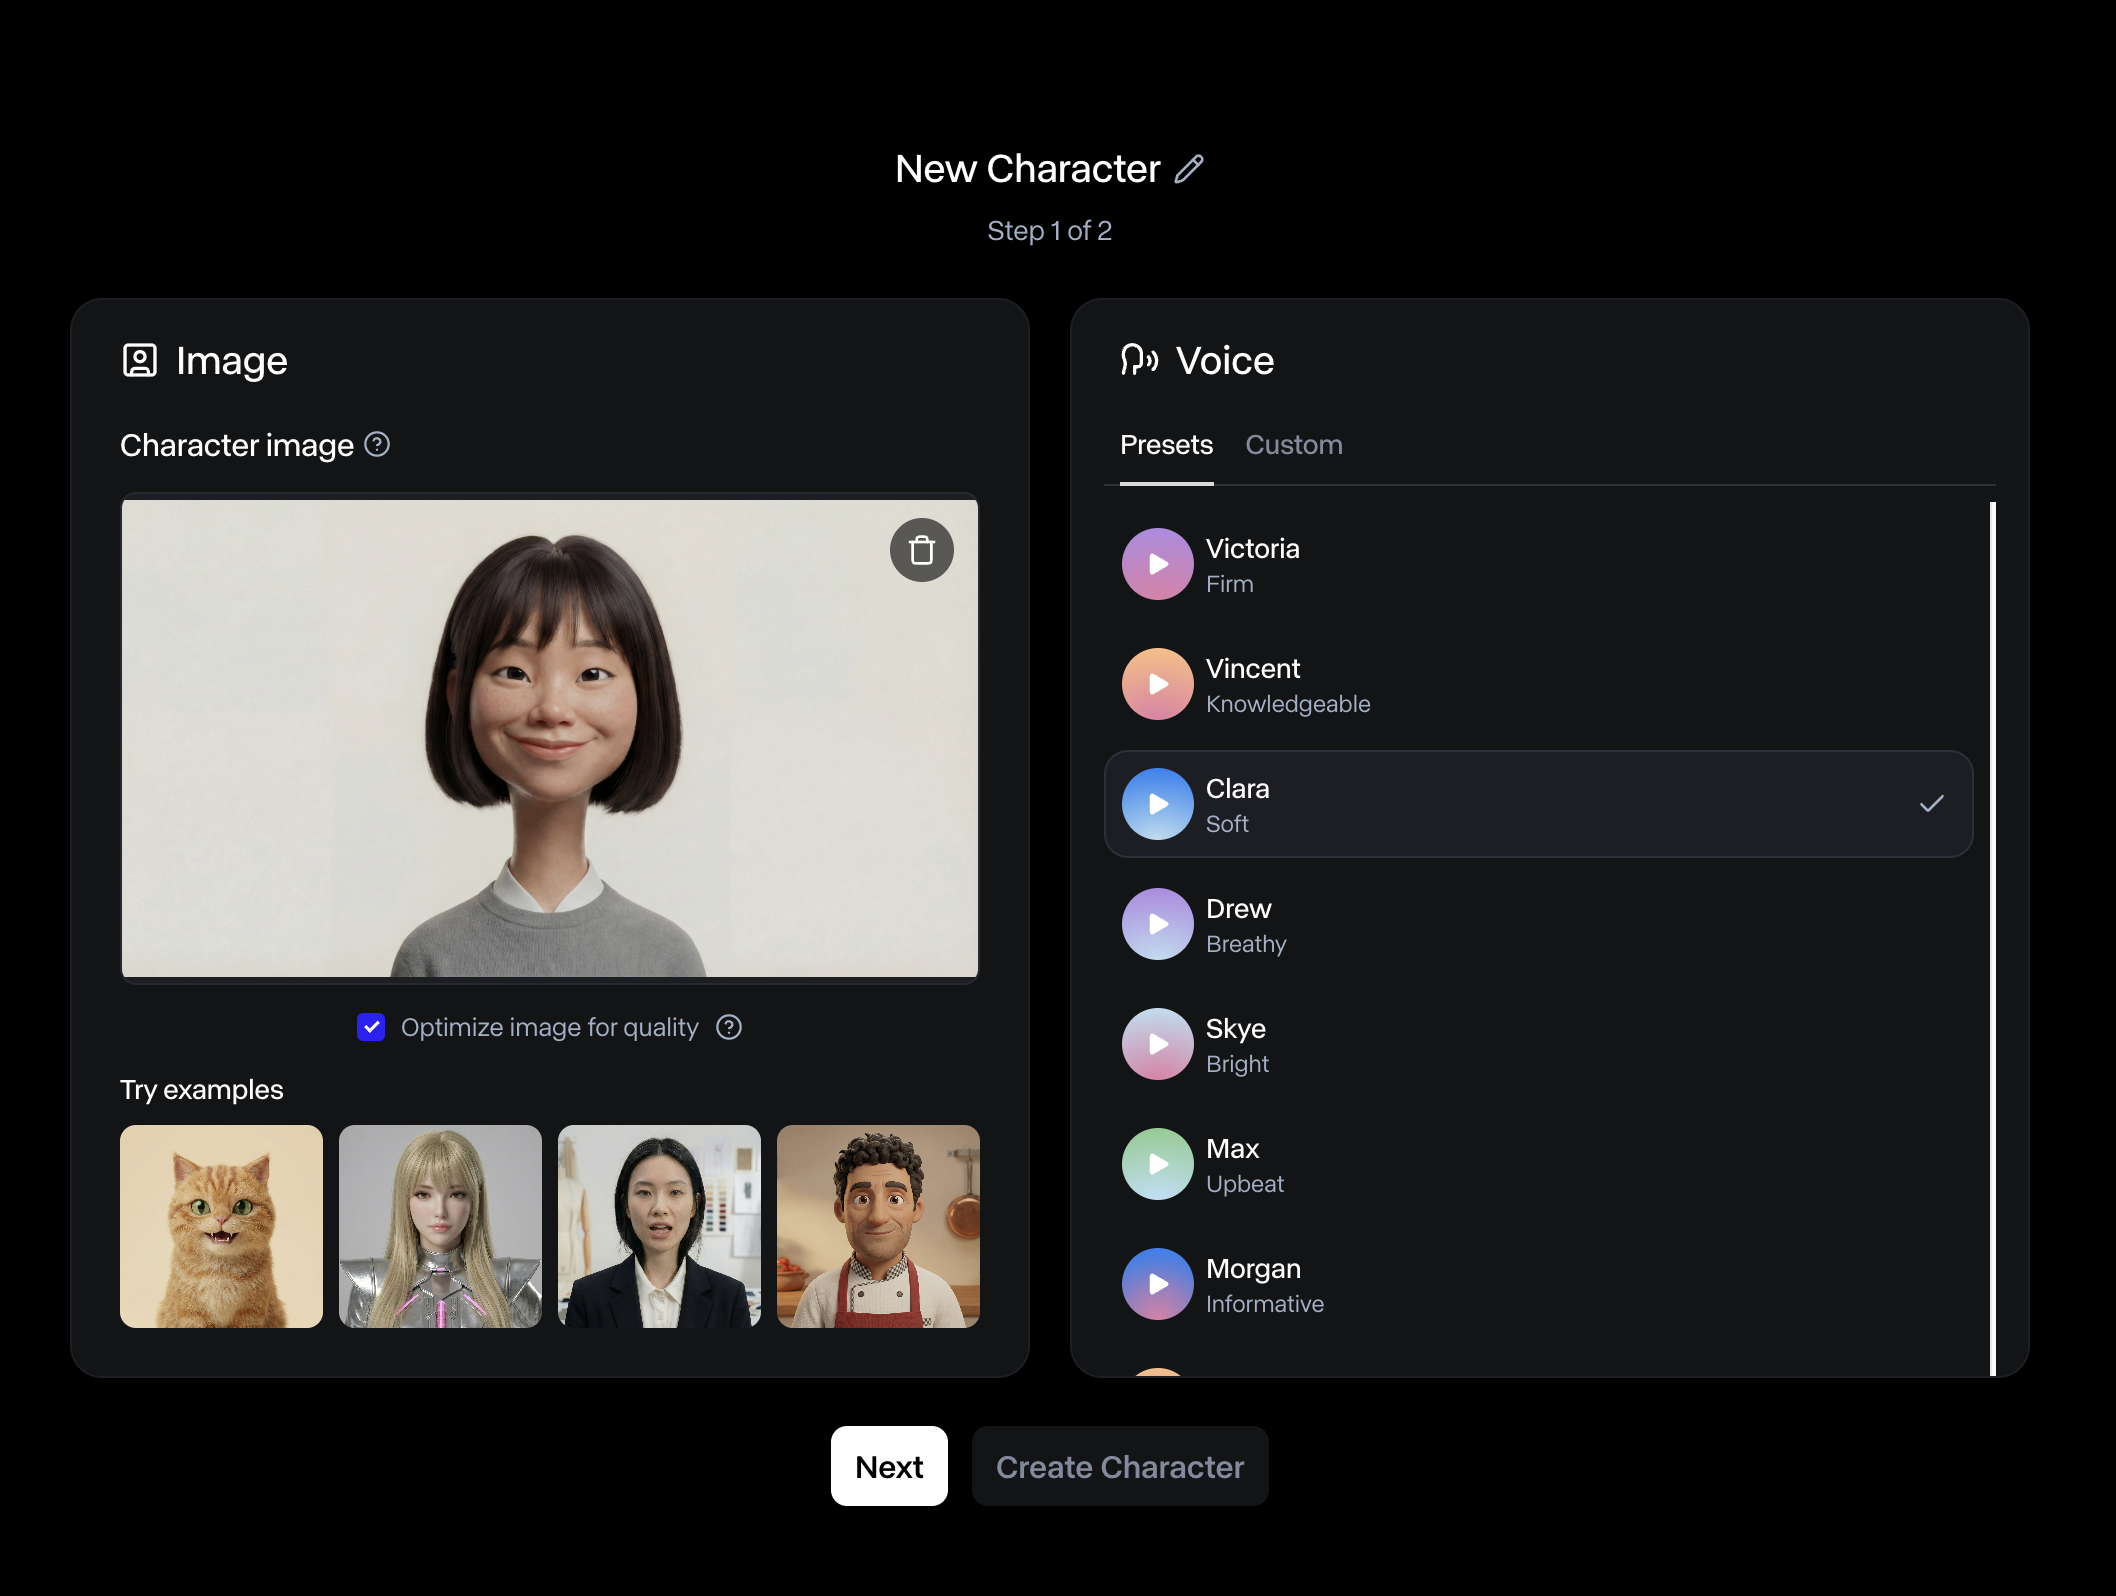
2-2. Choose a voice
Section titled “2-2. Choose a voice”You can click the “play” button to hear each voice option, then select the one you like. There are also options to customize the voice.
2-3. Input instructions
Section titled “2-3. Input instructions”Input “Instructions” for your character. For example: “Your name is xxx, you are a customer service support for a company called xxx. You help users with their questions.”
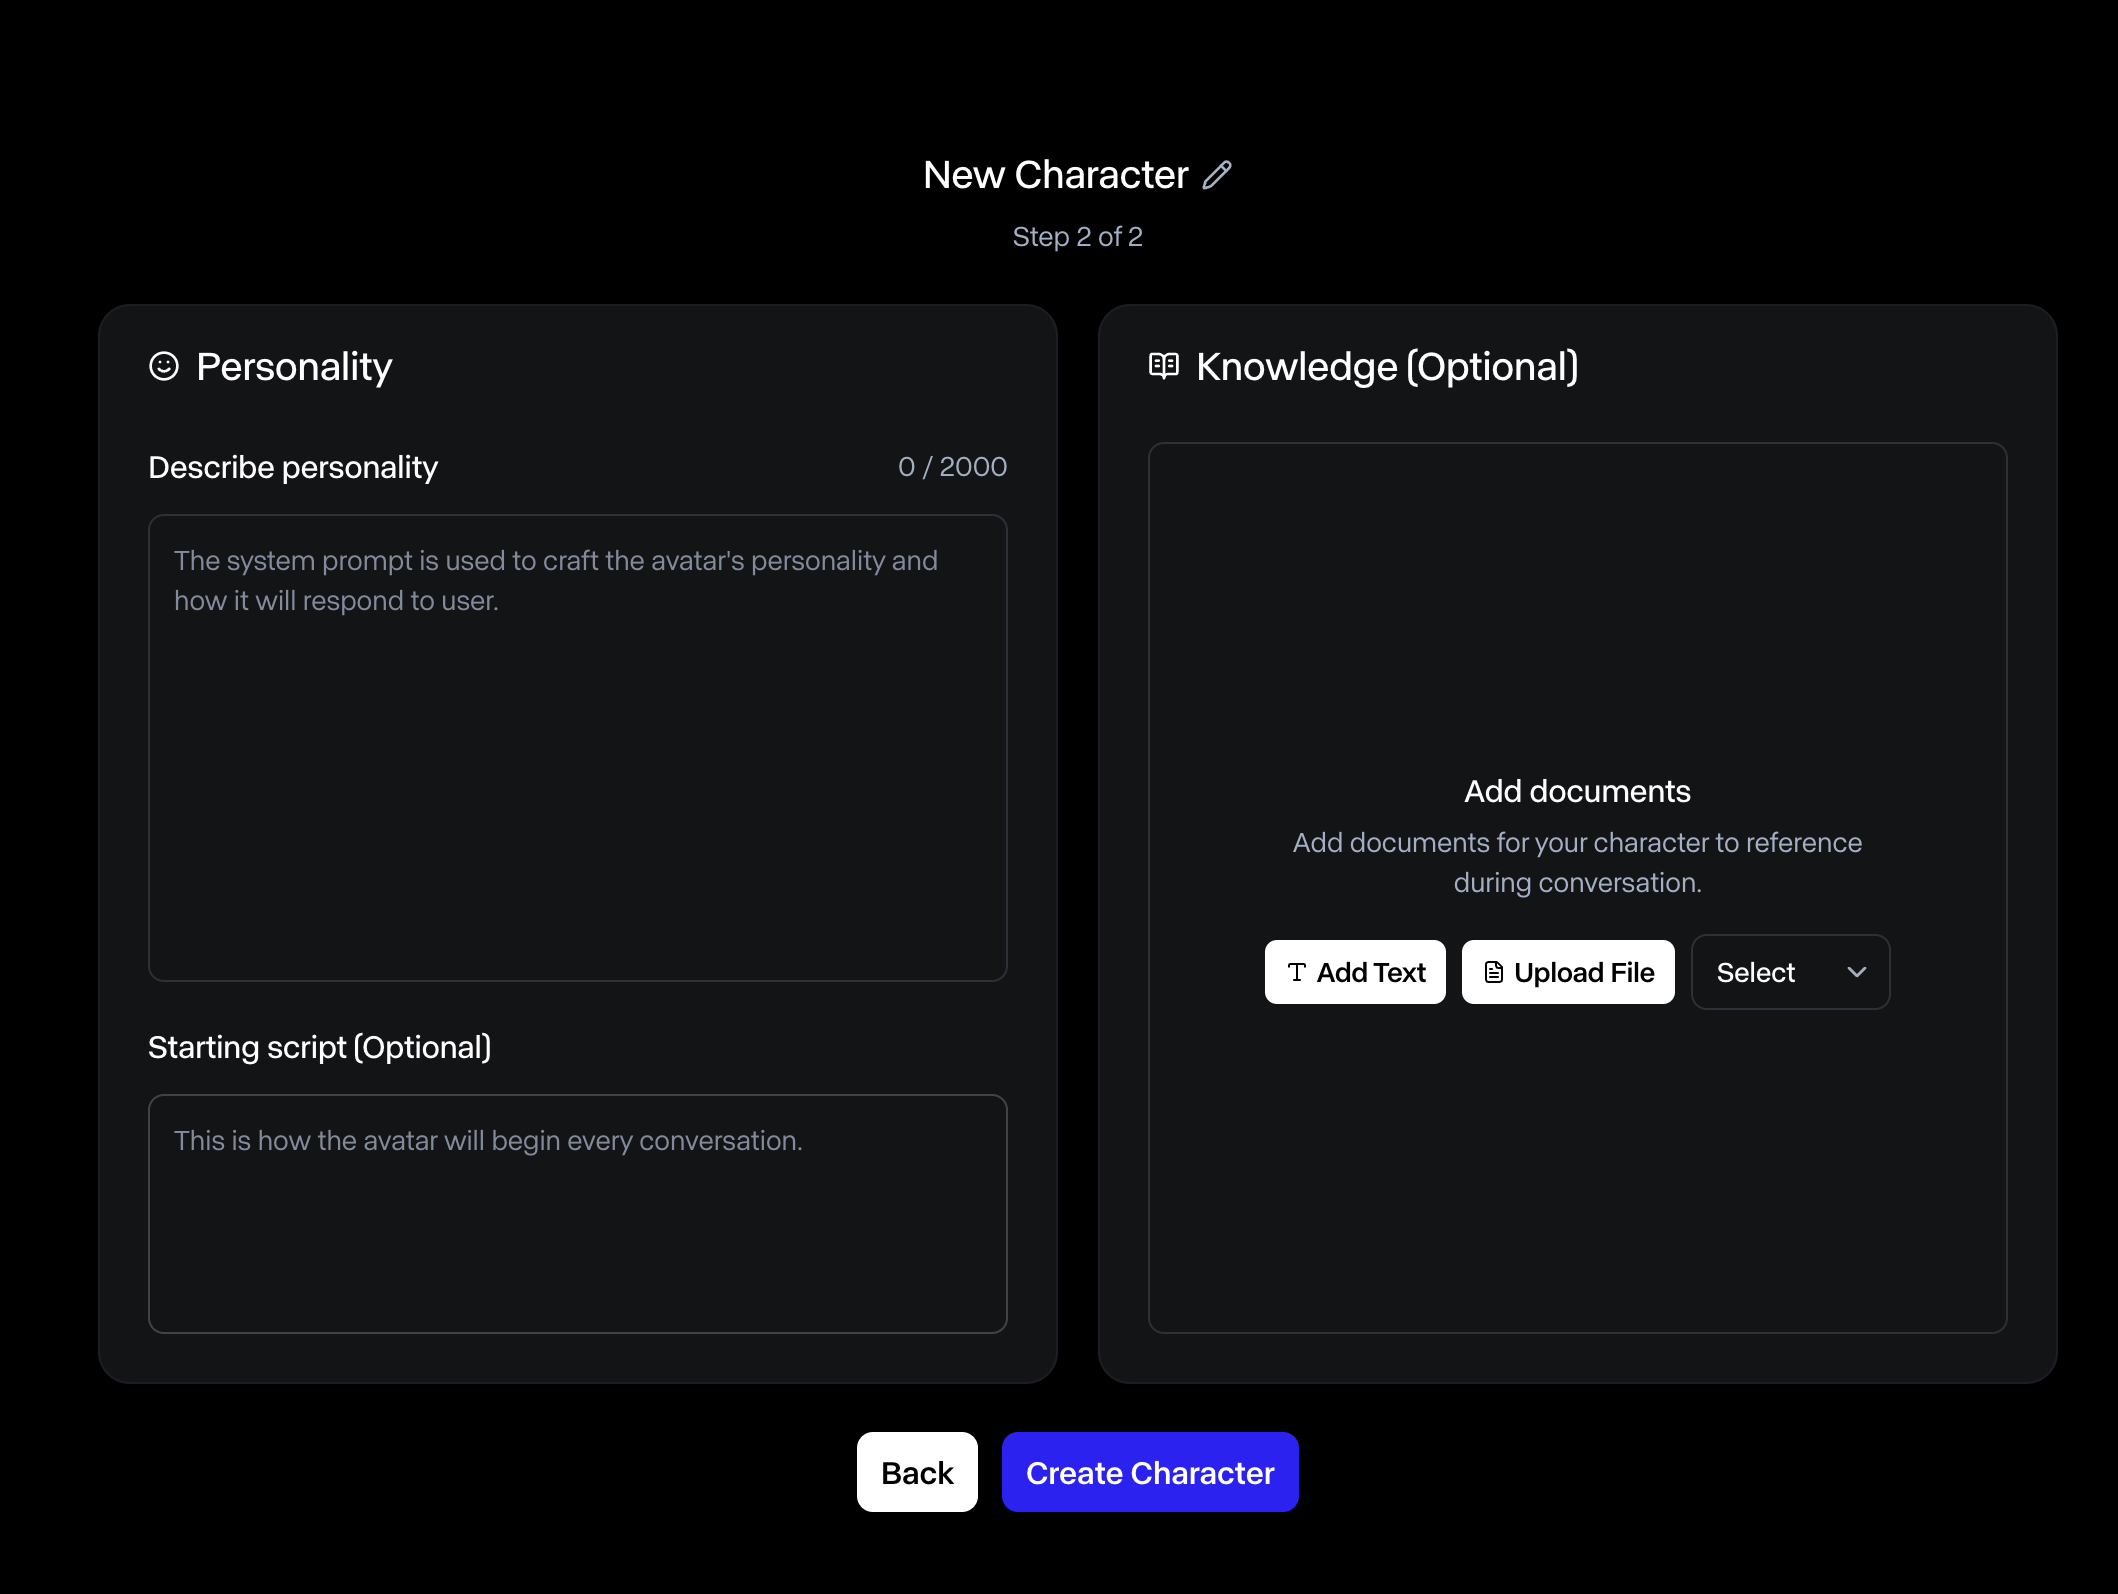
2-4. Input a starting script (optional)
Section titled “2-4. Input a starting script (optional)”If you’d like to tell your character to say something at the beginning of every conversation, input a “Starting script”. For example: “Hello, my name is xxx, how can I help you?“
2-5. Upload knowledge (optional)
Section titled “2-5. Upload knowledge (optional)”If you have longer text files that your character should know about, feel free to upload a .txt file there. For example, a .txt file of the product information that your character should know about.
2-6. Create the character
Section titled “2-6. Create the character”Click on “Create Character”.
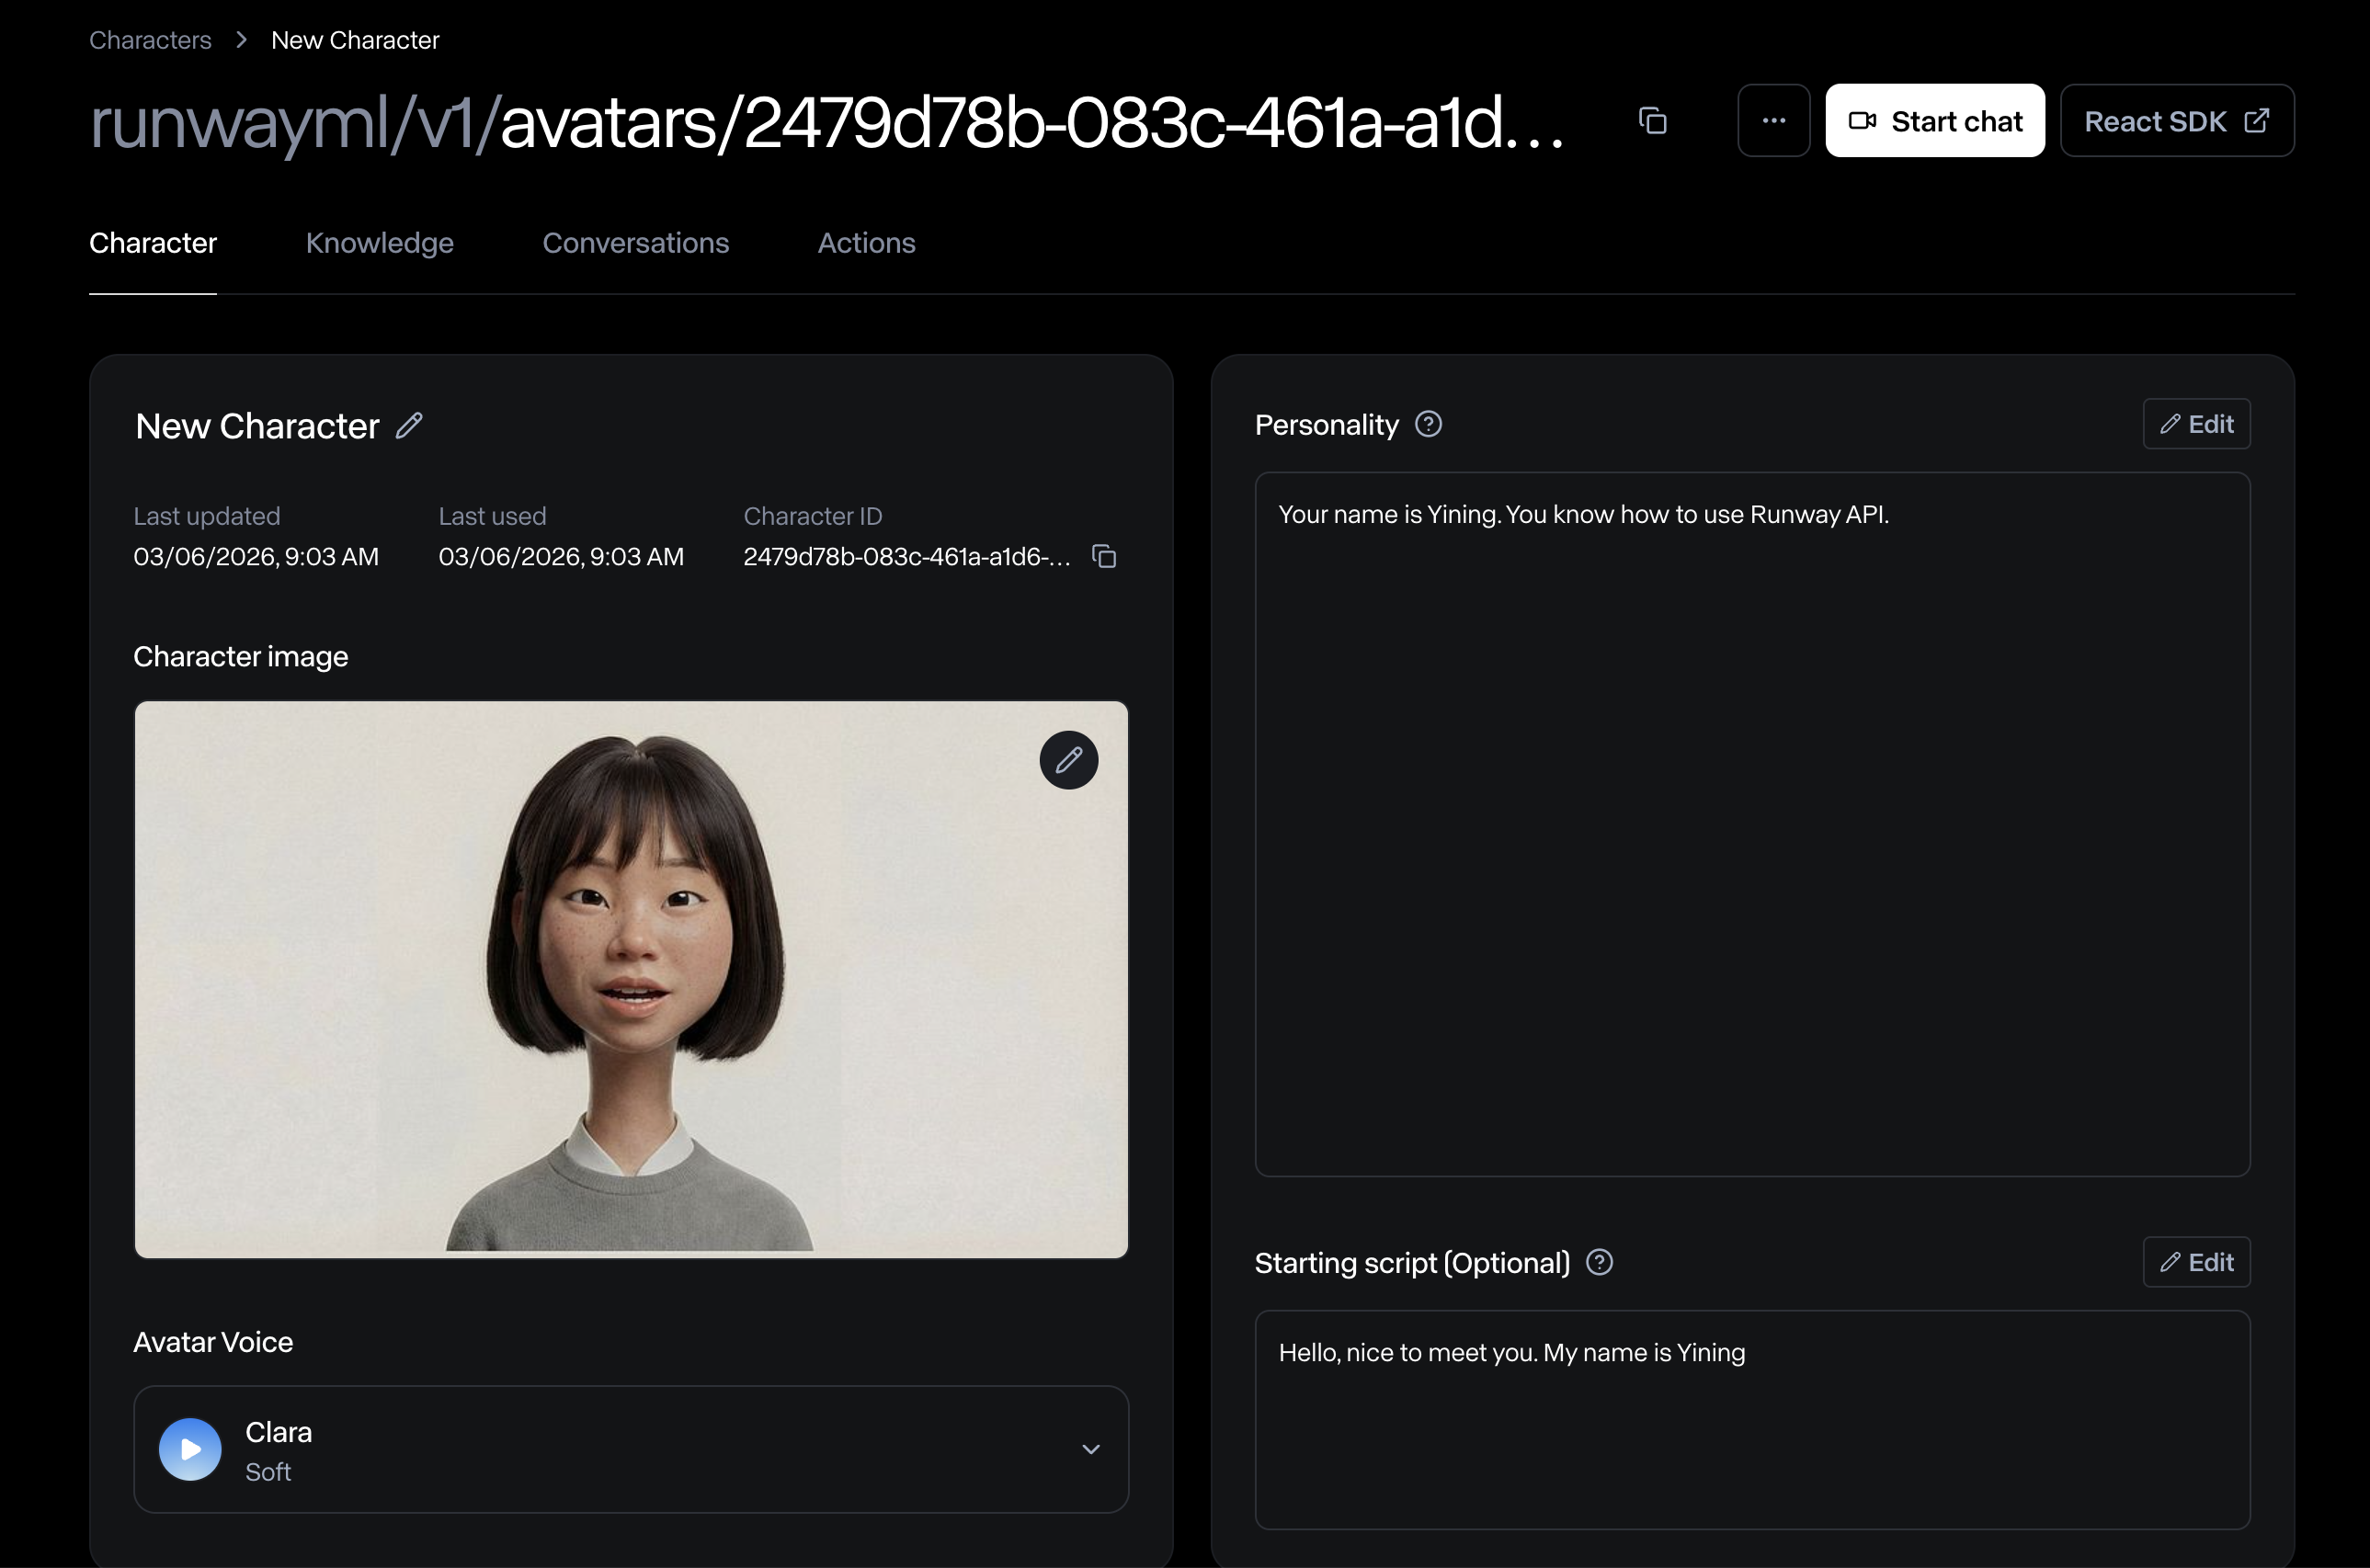
You will see a character page like this — copy the “Avatar ID”. It is a UUID that has 32 hex digits (e.g., 8be4df61-93ca-11d2-aa0d-00e098032b8c).
3. Use the custom character in your React app
Section titled “3. Use the custom character in your React app”If you haven’t already, check out the previous Quickstart tutorial or React app template and follow the instructions in the README to run the app.
Once you get the app running, update the code in two places:
1. Go to my-avatar-app/app/page.tsx and update MY_AVATAR’s id to the ID of the avatar you just created. Optionally, you can also update the name or imageUrl.
const MY_AVATAR = { id: "8be4df61-93ca-11d2-aa0d-00e098032b8c", name: "Yining", imageUrl: "https://runway-static-assets.s3.us-east-1.amazonaws.com/calliope-demo/tutorial/yining-character.jpeg",};2. Go to my-avatar-app/app/api/avatar/connect/route.ts and update the avatar type to "custom".
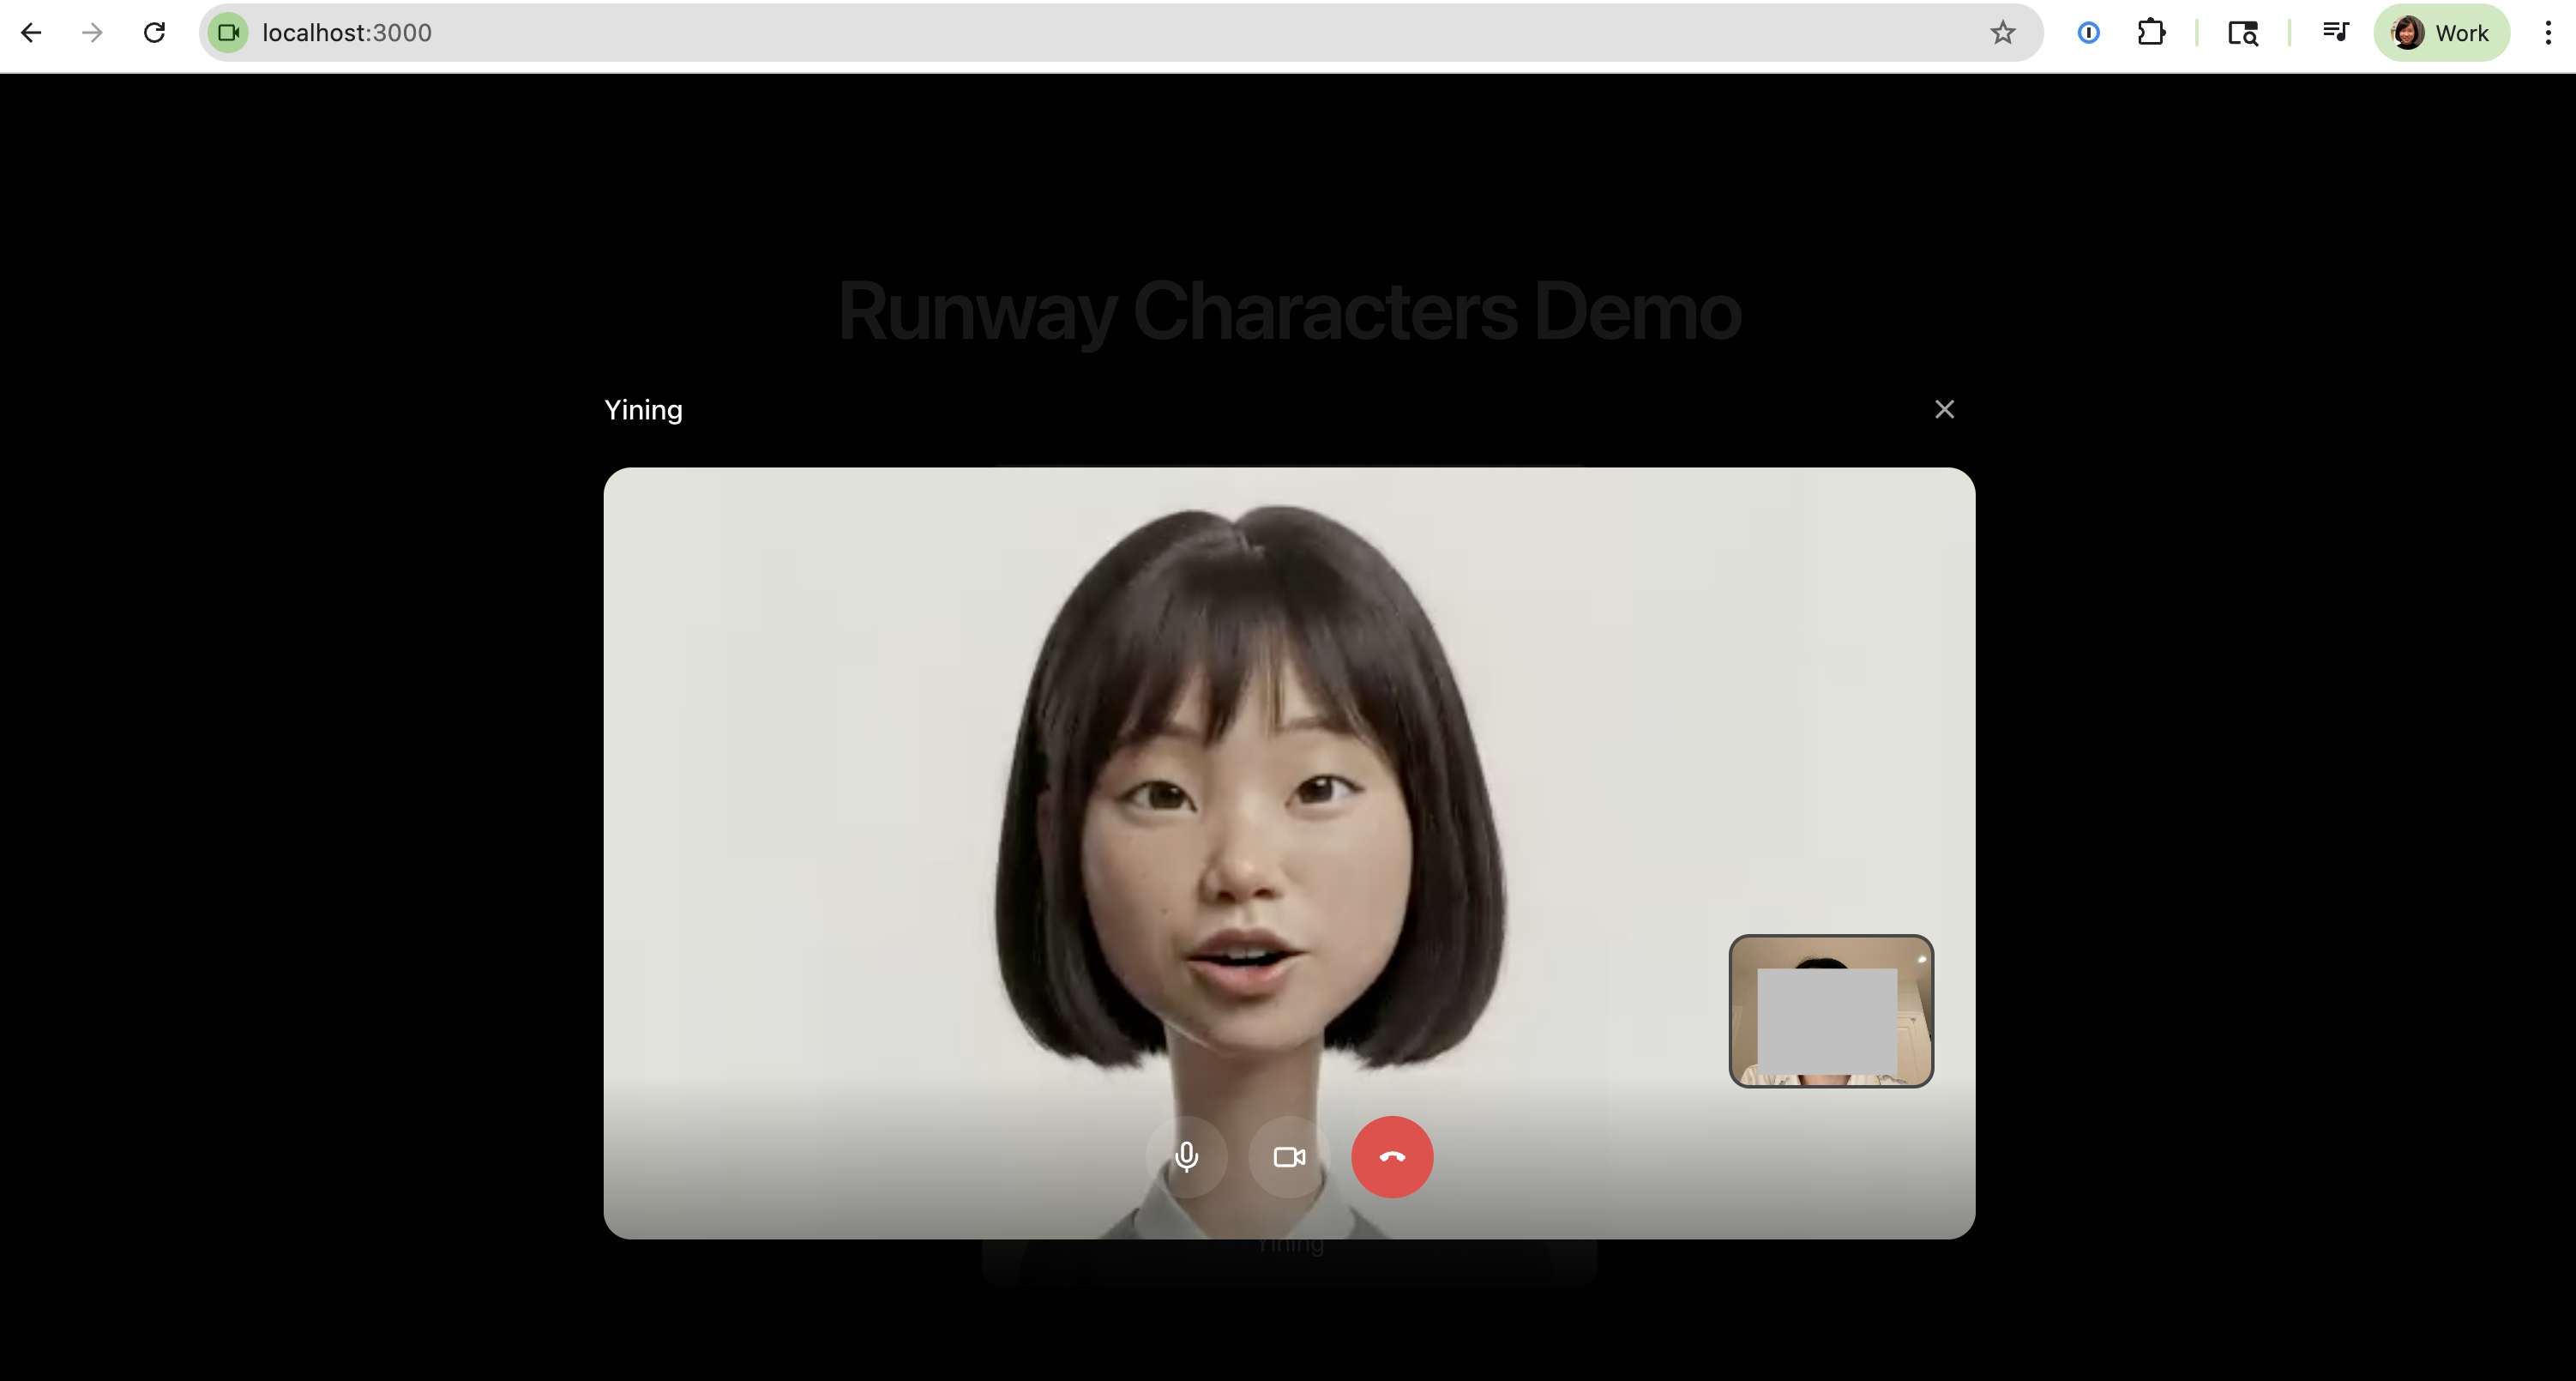
const avatar = { type: "custom" as const, avatarId: avatarId };Now if you run the app again, you should see your own character on the page and you can start a conversation with it.

That’s it! There are so many applications for custom characters — we’re excited for you to create your own. Please reach out to us if you have any questions via Runway support.