Embedded Widget
The embedded widget is the simplest way to put a Runway Character on your website. Drop a single script tag into your HTML and your visitors can start a video conversation — no backend, no React, no API key management on the client.
Helpful links:
When to use the widget
Section titled “When to use the widget”| Widget | React SDK | |
|---|---|---|
| Setup | One script tag | Server route + React |
| Server required | No | Yes |
| Customization | Portal config | Full programmatic control |
| Best for | Marketing & support pages | Custom apps, integrations |
Use the widget when you want the lowest-effort integration. Use the React SDK when you need full control over the UI and session lifecycle.
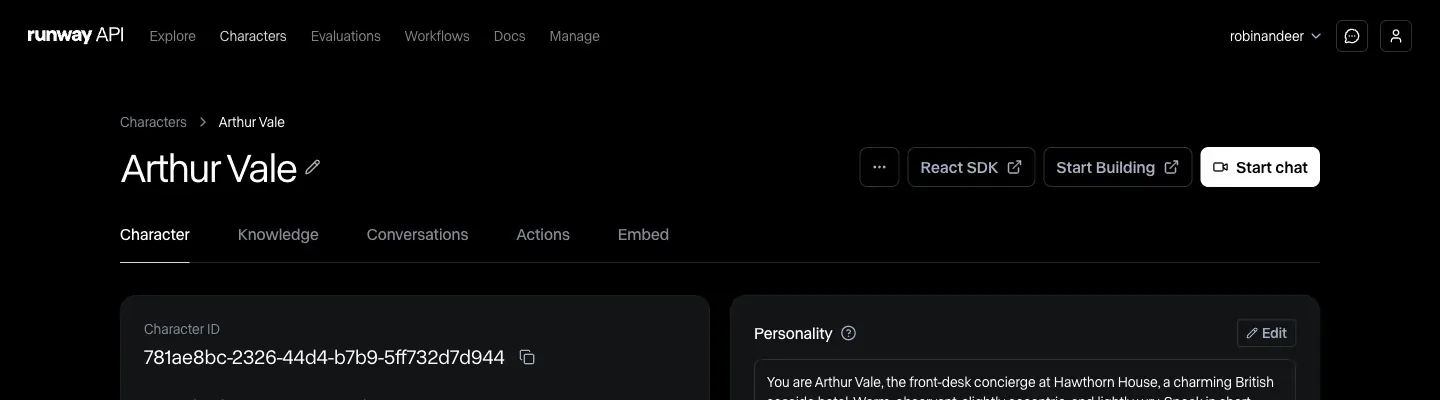
1. Open your Character
Section titled “1. Open your Character”Go to the Developer Portal and click into the Character you want to embed.
2. Configure the Embed tab
Section titled “2. Configure the Embed tab”Navigate to the Embed tab. Add at least one allowed origin (e.g. http://localhost:3000 for local development), then adjust limits and styling to suit your site. See Configuration below for details on each setting.
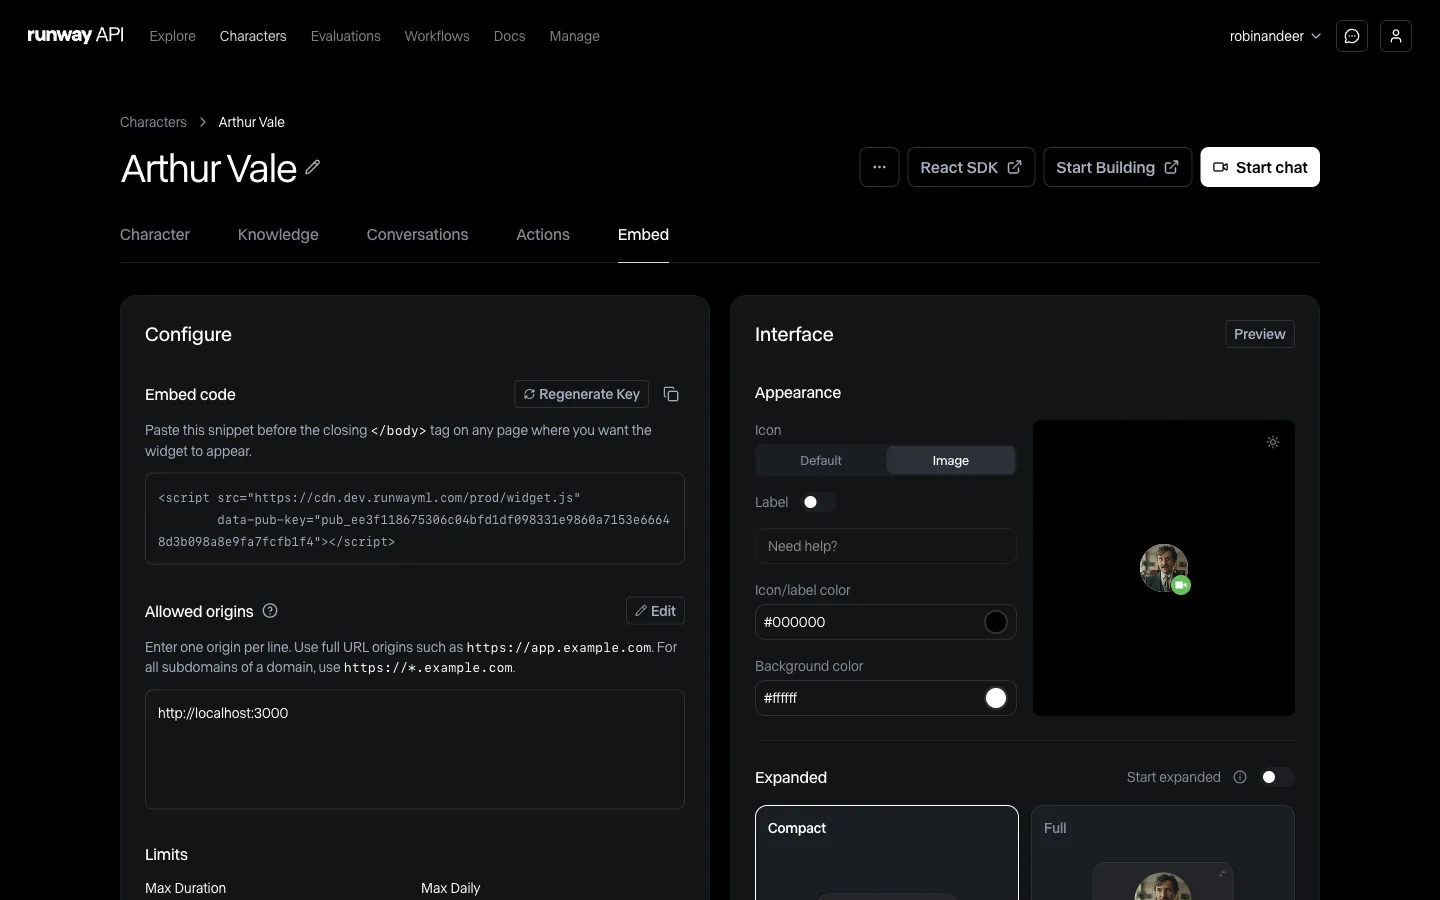
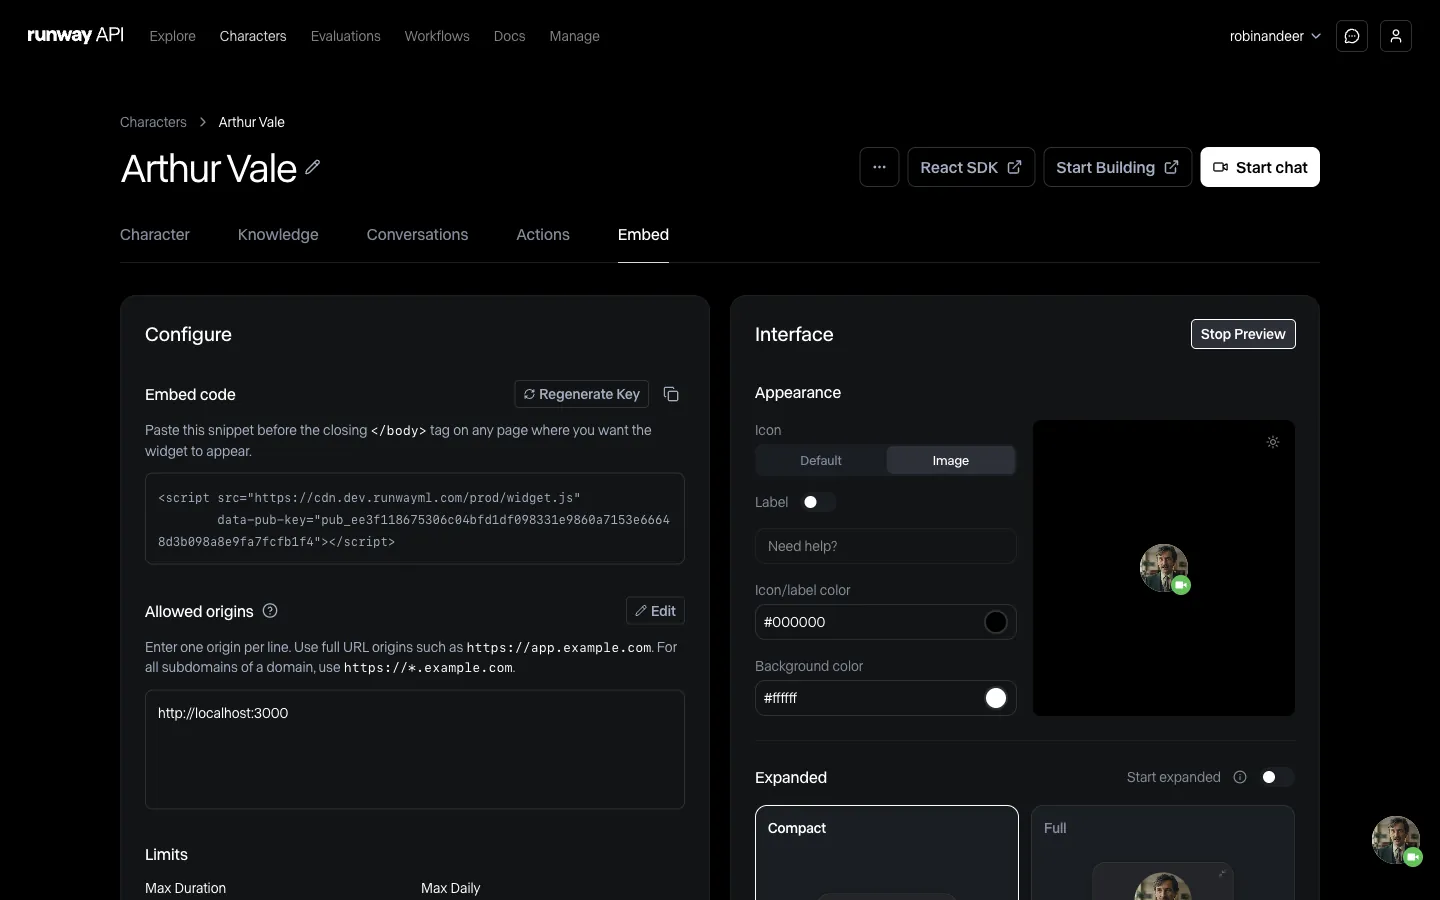
3. Preview and copy the embed code
Section titled “3. Preview and copy the embed code”Use the Preview to check your changes, then copy the script tag shown at the top of the page.
4. Add the script tag to your site
Section titled “4. Add the script tag to your site”Paste the snippet into your site’s HTML, before the closing </body> tag:
<scriptsrc="https://cdn.runwayml.com/v1/embeds/widget.js"data-pub-key="pub_..."></script>That’s it — reload the page and the widget launcher appears in the corner. Your visitors can click it to start a conversation with your Character.
Configuration
Section titled “Configuration”All configuration is managed through the Embed tab in the Developer Portal.
Allowed origins
Section titled “Allowed origins”The widget only loads on origins you explicitly allow. Add your production domain (and any staging/preview domains) in the Allowed origins section.
Requests from unlisted origins are rejected.
Limits
Section titled “Limits”| Setting | Description |
|---|---|
| Max Duration | Maximum session length in seconds (default: 120) |
| Max Daily | Maximum number of calls per day |
Interface
Section titled “Interface”Customize the widget’s look and feel to match your brand:
- Icon — use the default icon or upload a custom image
- Label — toggle a text label next to the icon (e.g. “Need help?”)
- Colors — set icon/label color, background color, CTA colors
- CTA copy — customize the call-to-action text (e.g. “Ask anything”)
- Layout — choose between compact and full expanded views, and whether the widget starts expanded
- Video call — choose between circle and full video call shapes
- Placement — position the widget (e.g. bottom right)
Options
Section titled “Options”- Share screen automatically — when enabled, the visitor’s screen is shared with the Character automatically when a call starts
Troubleshooting
Section titled “Troubleshooting”- Widget not loading: Make sure the page’s origin is in the Allowed origins list. The origin must match exactly, including protocol and port.
- Script tag placement: The
<script>tag should appear before the closing</body>tag so the page content loads first. - No credits: Make sure the developer account has credits before visitors can start a call.